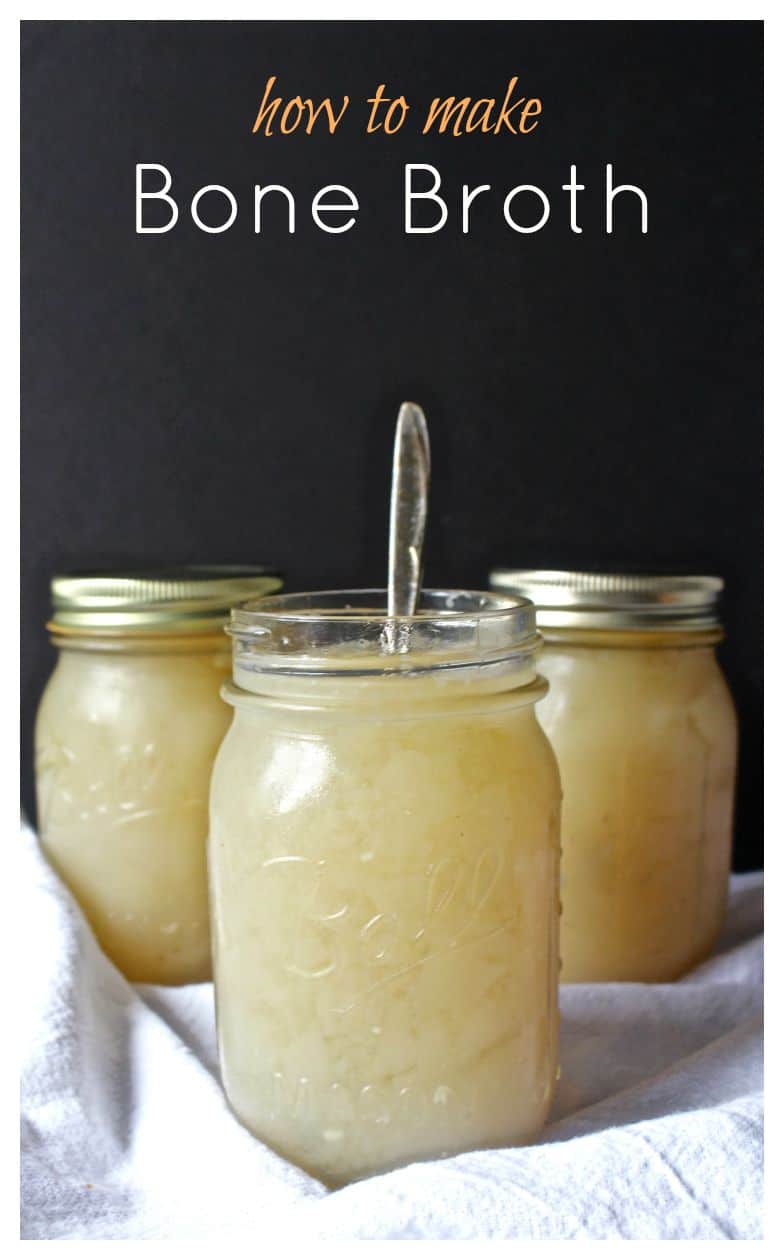
This guide on how to make bone broth is so easy and so helpful. It tastes amazing and has many health benefits. I always have some in my fridge, not only for drinking, but also for making meals come together quickly.
Now that you know how to poach a chicken, you have the start of some delicious broth. Don't dump all that out! Remove the meat and put the bones back in the broth and keep cooking as long as possible. I usually do this on the weekend and let it simmer until an hour before bed.
I am not claiming to be a health expert, but here are some health benefits from drinking bone broth:
- Reduces joint and muscle pain
- Fights infections
- Reduces inflammation
- Helps digestion
- Strengthens bones, joints, and ligaments and helps with arthritis
- Helps to heal autoimmune disorders
- Smoothes skin and helps eliminate cellulite (from the collagen)
Bone Broth Details
What bones?- I mainly use chicken and beef bones, but lamb, pork, and turkey can also be used. I like adding chicken feet to mine which really helps it gel.
Reuse the bones- you can use bones up to three times. I usually don't do this with chicken because I don't have room for them in the freezer, but I always use my beef bones again. I just let them cool, then put them in a gallon bag back in the freezer.
Add vinegar- vinegar plays an important role. Adding it helps draw all the minerals from the bones as they cook. You will notice the bones breaking down as time passes- that is exactly what you want to happen.
Low and Slow- a low and slow process is best for extracting all the nutrients from the bones.
Fat removal-After it is done cooking, I strain it in to a large bowl and refrigerate over night. The next day, I remove the fat from the top and discard it. This is optional, but I find the broth to be a little greasy when I leave it.
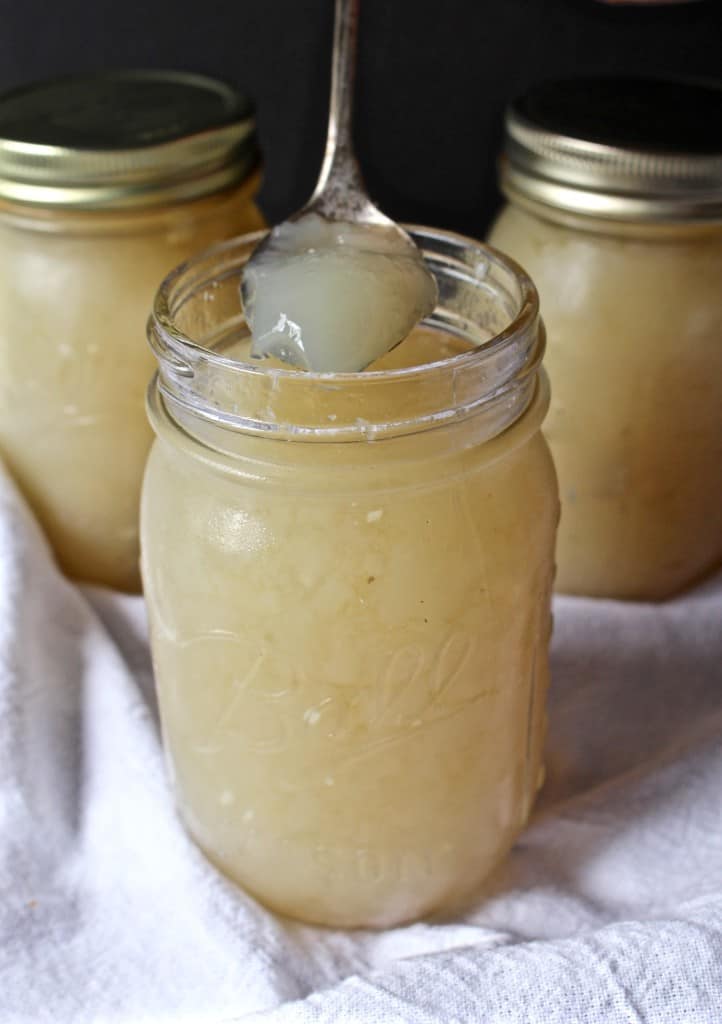
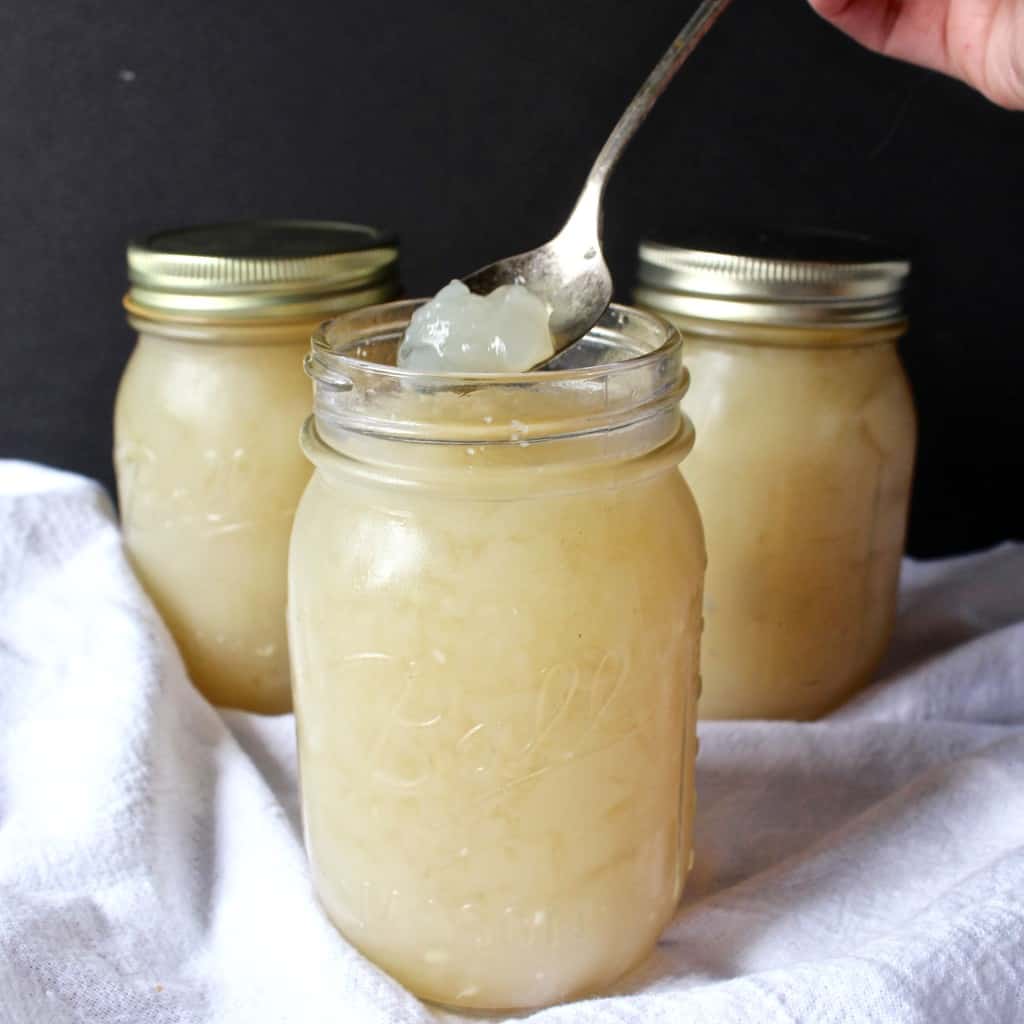
Storage- after I remove the fat I divide it up into mason jars using a large spoon and store it in the fridge that way. That makes drinking it so much easier because it is already portioned out and ready to be warmed up.
Freeze- if you have more broth than you'll drink or use, freeze it for later. I like putting it in a mini muffin tin so it freezes in disks. Once froze, I put them in a quart bag. They can then easily be added to dishes or warmed up to drink.
Better than store bought- not only is this broth much tastier, but it is also much healthier. Store bought broth can have gluten, msg, and other preservatives in it. It doesn't have the health benefits of homemade and is much more expensive. Homemade is the way to go!
*You can also make it in the slow cooker. Add the bones and cook 24-48 hours. My slow cooker automatically turns to warm after 10 hours, so I just reset it every time it does that. This is a great way to make it without worrying about being home.
Besides just drinking it, here are some recipes I use bone broth in:
- Healthy Cream of Mushroom
- Easy Mashed Cauliflower
- Paleo Whole30 Ketchup
- Paleo Whole30 Barbecue Sauce
Hungry for more? Subscribe to my newsletter and follow along on Facebook, Pinterest and Instagram for all of the latest updates.
How To Make Bone Broth
Ingredients
- Bones from 1 or 2 chickens feet if possible, or 2-3 lbs of beef bones
- 1-2 onions
- 4-5 garlic cloves
- rosemary or thyme optional
- 2 tablespoons coconut vinegar or apple cider vinegar
- Salt to taste
- Just enough water to cover all ingredients
Instructions
- Place all ingredients in a large stockpot and bring to a boil.
- Reduce to simmer and cook on low for 8 hours minimum, but as long as possible. I like to start it in the morning and let it cook all day.
- Once done cooking, remove the bones and let cool to use again. Once cool, place in a gallon zip bag and freeze.
- Place a fine mesh strainer over a large bowl and carefully pour the broth through the strainer. Discard all the solid bits.
- Cover and refrigerate overnight.
- Once fully cooled, a layer of fat will be on the top. I always remove it and throw it away, but that is optional.
- Divide into mason jars and store in the fridge.
- This can also be frozen. I like freezing it in a mini muffin tin, then once frozen, putting them in a quart size bag. This makes adding them to dishes very easy.
Kjersten Lowe says
How would you make this LOW-FODMAP? Is it still LOW-FODMAP since we arent eating the garlic, it is just infused!?
Jessica DeMay says
I wouldn't use the garlic. Use green onion and if you want the garlic flavor, use some garlic oil. Everything else is good. Hope that helps!
Lisa says
Could you make bone broth in an Instant Pot?
Jessica DeMay says
Hi Lisa- Yes! Put all ingredients in the instant pot (may need to adjust liquid) and cook for 1-2 hours on high. Just don't fill past the max fill line, maybe even a little under. Let naturally release. Enjoy!
Bry says
Any reason you don't add carrots and celery? 🙂
Jessica DeMay says
Hi Bry- no, feel free to add them. It's basically whatever I have around. I've made it many times with carrots and celery and it adds great flavor. I don't want people to think they need 100 ingredients to make nourishing broth. I hope you try it!
Joanna says
Quick question if I may, do you cover the pot or leave the cover off during the whole 9hrs?
Jessica DeMay says
Great question, Joanna! I've done either way. Most the time I make it right after poaching a chicken and I want to reduce the liquid a little, but if you don't want the liquid to reduce then cover it. I hope that helps and I hope you try it! 🙂
pat Schaible says
Jessica
I am making bone broth now. I am so excited for this recipe.
Thank you so much.
Pat
Jessica DeMay says
Thanks, Pat! That is fantastic! I hope you really enjoy it! 🙂
Nicole says
Can the fat be used to cook with?
Jessica DeMay says
I think so, yes!
Tracey says
I love bone broth its so soothing for your belly. I am very overdue for making a large batch!
Jessica DeMay says
Yes, I love how soothing it is! I like to always have some on hand.