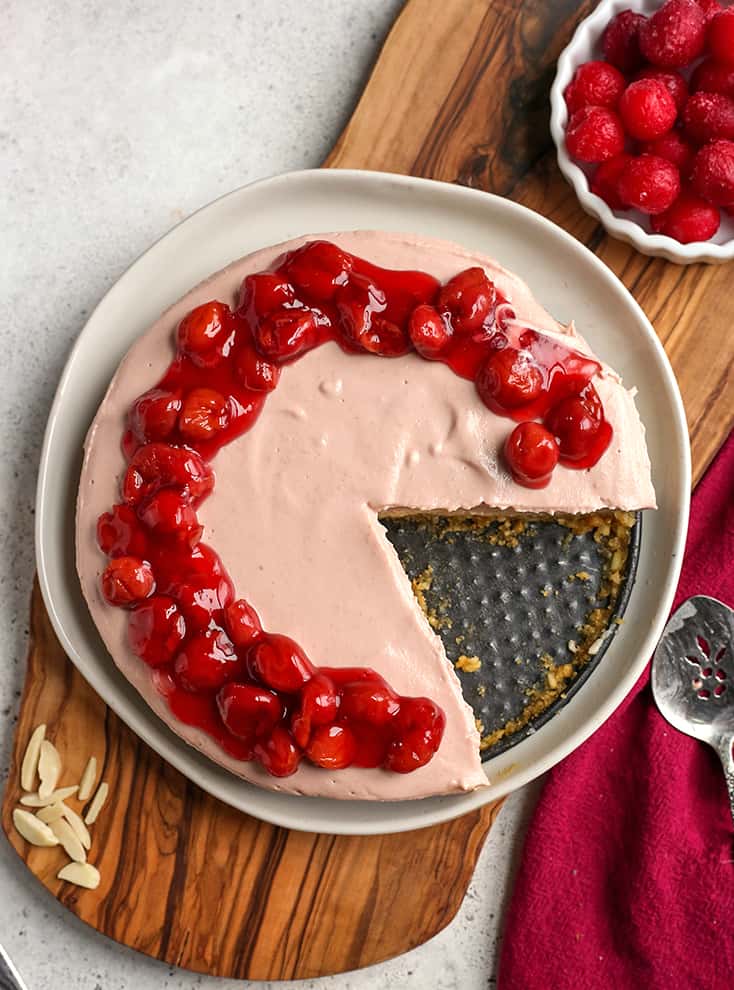
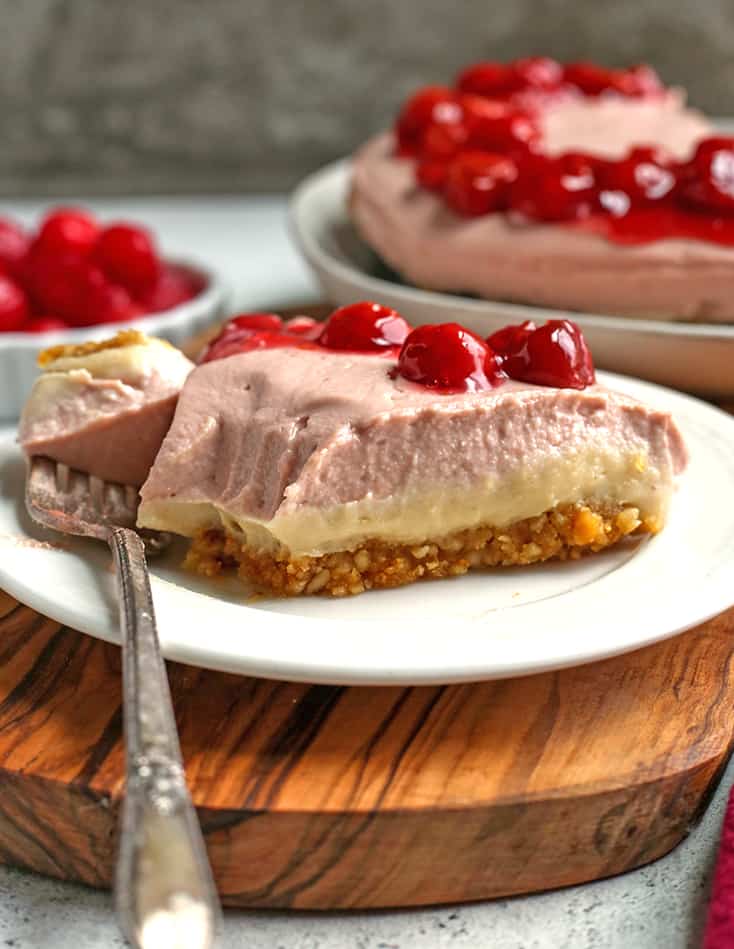
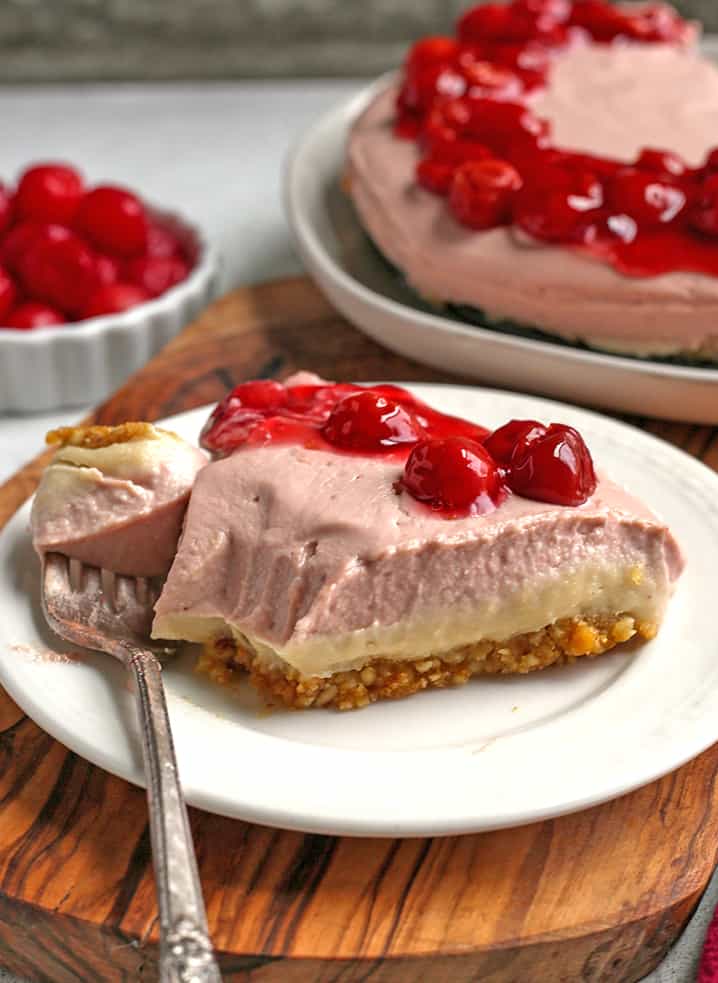
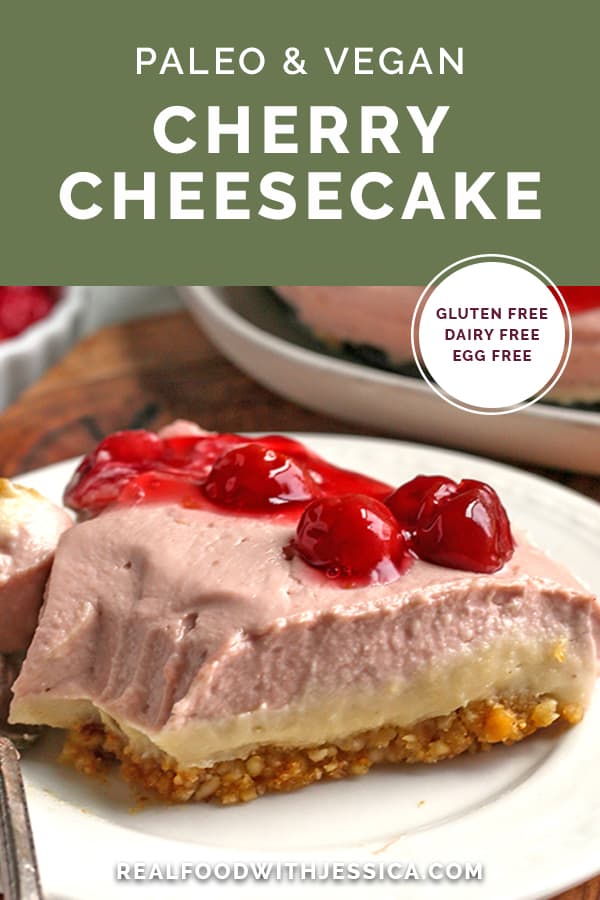
This Paleo Vegan Cherry Cheesecake has two layers of goodness and is completely no-bake. Gluten free, dairy free, egg free, and naturally sweetened.
Cherry cheesecake is pretty classic and I was excited to remake it to be vegan and paleo. Just like my other cheesecakes I have on my site, it's made with cashews that blend up and get super creamy. It's kind of magical how much it actually tastes like cheesecake with no cheese involved. The lemon juice that is added gives it the classic tang that usually comes from the cream cheese.
Fridge vs Freezer
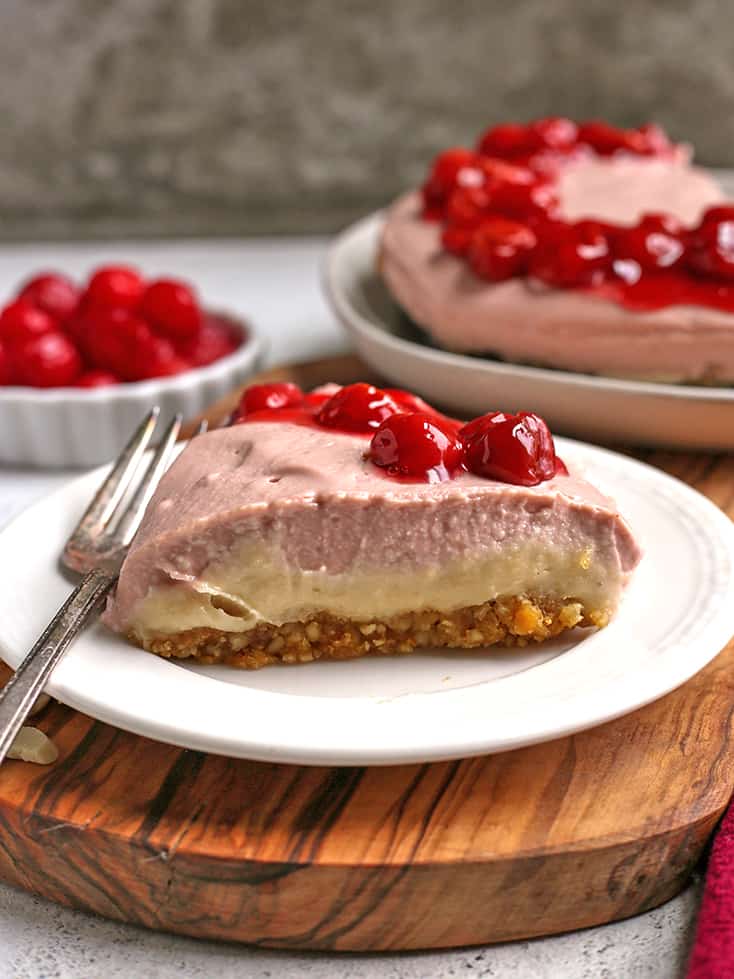
This is definitely on the softer side served straight from the fridge. It's still delicious and totally worthy of serving, but if you're looking for that classic cheesecake texture then it's best frozen. After I took pictures I popped it in the freezer and the texture was much better. It's personal preference, just letting you know.
Equipment Needed
A high powdered blender or food processor is needed to make this. I have a Vitamix that works the best. I've used different blenders over the years and this one definitely produces the creamiest cheesecake. The Cuisinart Food Processor is best for making the crust.
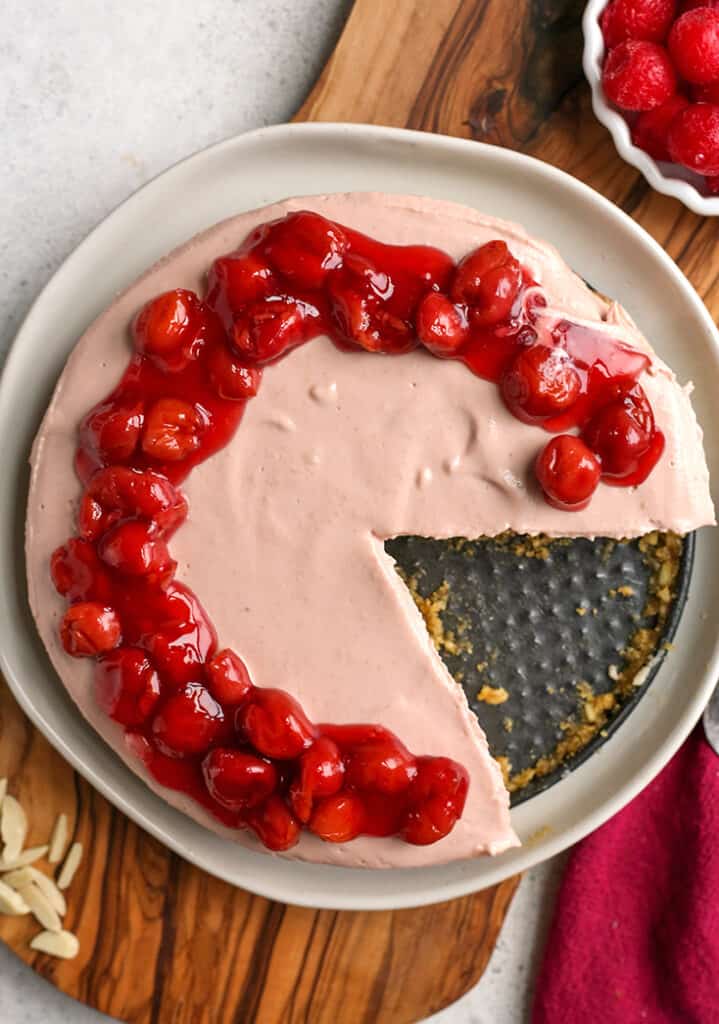
This is made in a 7-inch springform pan. It's what I use for all my cheesecakes because it's the perfect size, not too big and makes it nice and thick.
I used frozen tart cherries for this, but fresh would also work if that's what you have. The frozen is nice because you don't have to pit them which can be messy and time consuming. Thaw the cherries first for the cheesecake layer if you're using frozen so they blend easily.
I know you will love this paleo vegan cherry cheesecake because it's sweet, creamy, and easy to make. A great no-bake dessert and fancy enough to serve to company.
Here are my other cheesecake recipes to try:
Hungry for more? Subscribe to my newsletter and follow along on Facebook, Pinterest and Instagram for all of the latest updates.
Paleo Vegan Cherry Cheesecake
Ingredients
Crust
- 1 cup raw almonds
- ¼ cup pitted dates
- ⅛ teaspoon salt
- 2 tablespoons warm water
Cheesecake
- 2 cups raw cashews soaked
- ½ cup melted coconut oil
- ½ cup maple syrup
- 3 tablespoons lemon juice
- ¼ teaspoon salt
- 1 cup pitted cherries (122g)
topping
- 1 ½ cups pitted cherries
- 2 tablespoons maple syrup
- ⅛ teaspoon salt
- 1 tablespoon arrowroot powder mixed with 1 tablespoon water
Instructions
- The night before or early the day of, soak the cashews. Place them in a bowl and cover them with filtered water. If in a hurry you can soak them in hot water for 1 hour, changing the water half way through to keep warm.
- Grease a 7-inch springform pan with coconut oil and set aside.
- In a high powered blender or food processor, make the crust. Add the almonds, dates, and salt to the processor and blend until fully combined. This may take 1-2 minutes. It should hold together like a cookie dough ball. Add the water if needed and press into bottom of springform pan. Place it in the fridge while you make the cheesecake.
- Drain and rinse the cashews. Place them in the food processor- no need to wash it from the crust unless it's very dirty. Add in the coconut oil, maple syrup, lemon juice and salt. Blend on high until completely smooth, stopping and scrapping down the sides as needed. This may take 5-7 minutes, depending on the blender or food processor you have. Pour half of the mixture into the pan, on top of the crust. That should be about 1 cup of the mixture. Leave the rest in the blender. Place the plain layer in the fridge for an hour. Add the cherries to the remaining mixture and blend until smooth. Pour over chilled plain layer and place back in the fridge.
- Make the topping. Add the cherries to a small sauce pan and add in the maple syrup and salt. Cook on medium heat for 3 minutes. Mix the arrowroot powder and water together to form a slurry and add into the cherries. Stir until thickened, about 2 minutes. Pour into a bowl to cool. Once cool, top cheesecake with mixture.
- This cheesecake can be kept in the fridge or freezer. It has the best texture in the freezer, but either will work.
Nutrition Information
Leave a Comment